

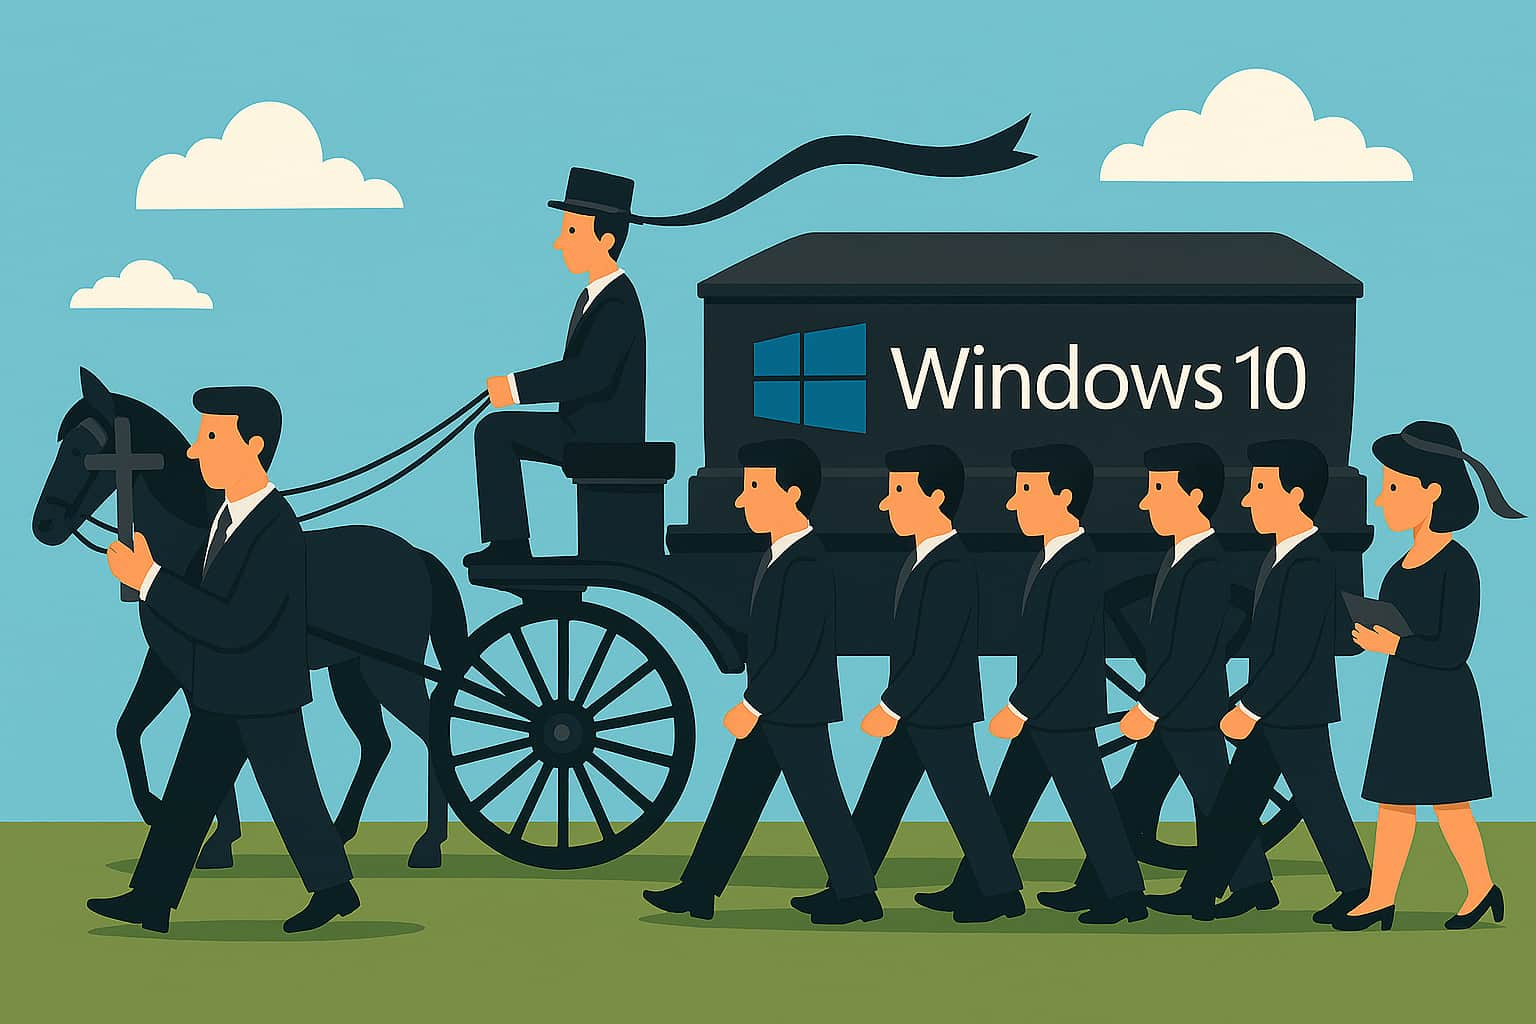
Funeral for Windows 10
The King is DEAD! Long live King Linux!

The King is DEAD! Long live the King!
Linux is the new King.
Windows 10 support expired 10/14/25. Keeping Windows 10 after that date, with no further updates, is a major security risk I’m not willing to accept. What to do? Reincarnation: install Linux Mint.
My Windows 10 hardware was purchased in 2015. It has an Intel i5 processor ~ medium powered CPU for word processing, email, and web browsing. I installed 32Gb of RAM to give multiple applications elbow room to coexist during a session. I added a 1Tb SSD for fast and vast storage. The hardware is still in good condition, quite usable and I’m unwilling to part with it. Hence, installation of Linux Mint is a no brainer for me.
Linux Mint was chosen after days of research into a viable Linux alternative to Widows 10. Why Linux? Free, as in zero cash outlay. Works “out of the box” on my ancient “Legacy Hardware”, including my existing Logitech webcam, Zoom Technologies USB-C audio interface, and Logitech wireless keyboard & mouse combo. Hardware upgrades are not needed. It just works.
Another major consideration for my choice of Linux is familiarity: I’ve been working with UNIX-like operating systems as an IT professional for over 30 years and I know how to “tinker with the twiddly bits” under the hood when needed. However, after a long day at work, I have no desire to mess with stuff under the hood, thus my main desktop and laptop are Apple Macintosh machines. Point-and-click is my preferred mode of operation. The Mac platform operates in that mode flawlessly and does not unexpectedly crash like Windows. I also have a pair of Windows 11 virtual machines on my Mac’s I use for Windows-specific applications, such as Visio, a Microsoft diagramming tool used extensively in enterprise networking. I wanted a Linux environment where I had no need to tinker under the hood and I could point-and-click with little fuss, therefore Linux Mint is my choice.
One obstacle to overcome is how to access my years of data stored in the Microsoft ecosystem: OneDrive cloud storage, MS Office - especially OneNote that I use extensively, Outlook for enterprise email/calendar/contacts, and video & photo editing. As I have ready access to those tools on my Mac and Windows virtual machines, I’ve decided to table that issue for now and focus my efforts on a gradual move over time to non-Microsoft tools that are acceptable alternatives.
The remainder of this article provides an overview of what it took to get Linux Mint up and running on my legacy hardware.
My funeral ritual commenced as follows:
1. Download Linux Mint; Create an Installation Flash Drive
Go the Mint download site at https://linuxmint.com/download.php and choose your edition. I selected the “standard Cinnamon” desktop edition. It is a 3Gb software image with easy to follow Linux Mint Installation Guide.
2. Verify Your ISO Image
From the Linux Mint Installation Guide:
It is important to verify the integrity and authenticity of your ISO image.
The integrity check confirms that your ISO image was properly downloaded and that your local file is an exact copy of the file present on the download servers. An error during the download could result in a corrupted file and trigger random issues during the installation.
The authenticity check confirms that the ISO image you downloaded was signed by Linux Mint, and thus that it isn’t a modified or malicious copy made by somebody else.
I was still running Windows 10 and the instructions were a bit different for me ~ I found easy to follow verification instructions at https://forums.linuxmint.com/viewtopic.php?f=42&t=291093.
I created a folder on my Desktop, put the ISO image and two verification files in the same folder, ran the verification program, and the output showed my files were intact and official. I could now create a bootable installation flash drive.
3. Install Etcher and Create a Bootable Installation Flash Drive
Etcher is a wonderful tiny software program used to copy ISO images onto flash drive media. You will need a flash drive with at least 4Gb capacity. I had a 16Gb flash drive available, which worked fine. A 4GB DVD disk will function just as well and will be slower due to the limited DVD drive playback speeds.
I downloaded and installed Etcher from https://etcher.balena.io/#download-etcher, choosing the Etcher for Windows (x86|x64) (Installer) Download option. I saved the download and ran the installer.
Copying the ISO image to the flash drive is a snap:
Start Etcher
Select the ISO image from where you saved the file
Select the flash drive - be sure it’s the smallest disk size on the menu or you may inadvertently erase another hard disk! Oops!
Start the Flash copy ~ Etcher provides percent status as it goes
Done!
Exit Etcher and I’m ready for installation of Linux Mint!
4. Boot Linux Mint
What should have been a very simple process became a typical Microsoft Windows “pull my hair out” experience.
Under “normal” circumstances, all I should have to do is:
Power off my machine
Power on and immediately hit the Escape or Delete key to enter my machine BIOS and set the USB flash drive as the boot device
Reboot
But NO! Microsoft has to go and mess with this process!
An hour of power off, Escape or Delete, blank screens, and boot back into Windows 10 was frustrating. I had no idea that Windows 10 uses a “Secure Boot” process that prevents access to the native machine BIOS. Sigh.
Microsoft’s security requirements do not obscure the native BIOS directly but enforce a shift to UEFI mode, which disables Legacy BIOS functionality and makes certain settings inaccessible. This is a deliberate design to enhance system security, not a hidden or obstructive feature. Sigh, again.
In my research, I stumbled across this solution at https://support.microsoft.com/en-us/windows/reset-your-pc-0ef73740-b927-549b-b7c9-e6f2b48d275e. I scrolled the page down to “Reset your PC from Settings” and chose “Remove everything” option. This process took about 30 minutes to complete. When done, I was finally able to use the Delete key on machine power up to get into my AMI branded BIOS, tab to the Boot section, and select the USB flash drive as the boot device.
Eeee-gads, what a pain in the ass that was!
5. Install Linux Mint
Reboot from flash and I use the instructions at https://linuxmint-installation-guide.readthedocs.io/en/latest/boot.html to start Mint.
Mint starts into a “Live” sessions, meaning its fully running from the USB flash drive. To install Mint on my hardware, I saw a disk ISO icon in the upper left of the screen, double-clicked that icon, and installation started.
As my hardware was already connected to the Internet with Windows 10, I followed the screen prompts and Mint installation proceeded.
Upon completion, I clicked the “Restart Now” button, removed the USB flash drive. Hit Enter, and my machine rebooted into a newly installed Linux Mint on my legacy hardware.
I logged in with the username and password set during the installation prompts and, presto! ~ my legacy hardware has a new lease on life. Until some irreplaceable piece of hardware fails, like an out of production power supply, I have an up to date machine fully supported with security updates that I can use for various and sundry tasks.
6. Explore Linux & Mint
There are software tools available immediately in Linux Mint that can be used to be productive:
The Cinnamon desktop environment, which is the default on Linux Mint, includes a Start menu, system tray, and a panel that closely resembles the Windows 10 interface, making navigation intuitive for new users. For accessing storage devices, users can click on “Computer” in the Start menu, which functions similarly to the “This PC” feature in Windows 10. This can also be enabled as a desktop icon through System Settings under Desktop preferences.
Additionally, Linux Mint provides the Disks utility, accessible via Menu > Preferences > Disks, which allows users to manage and view all storage devices, including SSDs, offering a centralized tool for disk management. The operating system is designed to run efficiently on older hardware, often outperforming Windows 10 on systems with limited RAM and processing power. Tools like Wine and PlayOnLinux are also available, enabling the execution of some Windows applications, further easing the transition from Windows 10.
Libre Office - a “Free” alternative to Microsoft Office
Libre Office is included in the default installation on Mint. It has a word processor, spreadsheet, presentation, drawing, database, formula, and charting software that can read and write Microsoft Office documents.
Many European municipalities, states, and countries are moving to this suite of tools and away from Microsoft to enable local control and data sovereignty ~ they no longer trust U.S.-based Microsoft with their data and the native file formats adhere to international standards for document portability. A powerful endorsement.
Explore Linux Software
There exists a large body of software in Linux that perform the same functions as those in Windows 10/11. Have a look at Linux software equivalent to Windows software to get inspired to try some.
A Requiem
My Linux Mint installation has delayed my legacy hardware from the fate of the recycle pile. I’ll get good use of the machine to manage my home network and server lab. While it does not have the latest and greatest technology, it turns out I do not need that for a humble interactive management machine. There is no need for me to tinker under the hood as well. I do enough of that at work. Windows 10 was a faithful sidekick for a long time. I bid it farewell and look forward to many hours of enjoyment of a fully supported and updated operating system on my legacy hardware once again.
For whom do the bells toll?
They toll for Windows 10.

I am at that crossroad now. Bail out of MS altogether or cave to more MS (intrusive) bs.